Friday 30th Jan was another Brewday. A slightly later than planned start, I slept in
I used the same quantities of Malt as the last Parti Gyle and achieve a similar SG 1.093 for the brew from the 1st runnings ignore the dry hop quantities as it’s likely to change ..
chest Hair 1st Runnings
The second runnings has an SG of 1.040 so Ive inserted a quantity DME to get the numbers to match as a rough guide for he Black IPA
Black IPA from 2nd Runnings
95L igloo in action..
Yesterday saw the BeerBuddies club meet up for an other afternoon at Saltaire Brewery’s shop/bar., a very pleasant afternoon with a bottle swap and tasting taking place. In attendance were Pete,Gaz,Tom,Paul and myself. We sampled some of Petes christmas Ale, a bfew sips of Pauls infected bottle of pale and Tom’s 2014 Vintage Russian Imperial Stout, Tom and Gaz had to go outside to open it for the tasting as Tom Said it was a bit lively which it proved to be. as I came down to find the following this morning !
It literally blew the arse out of the bottle… Pity I was looking forward to it !!
Tom’s RIS Bottle on the floor sans its bottmToms RIS contents + Bottle BottomThe bottle !
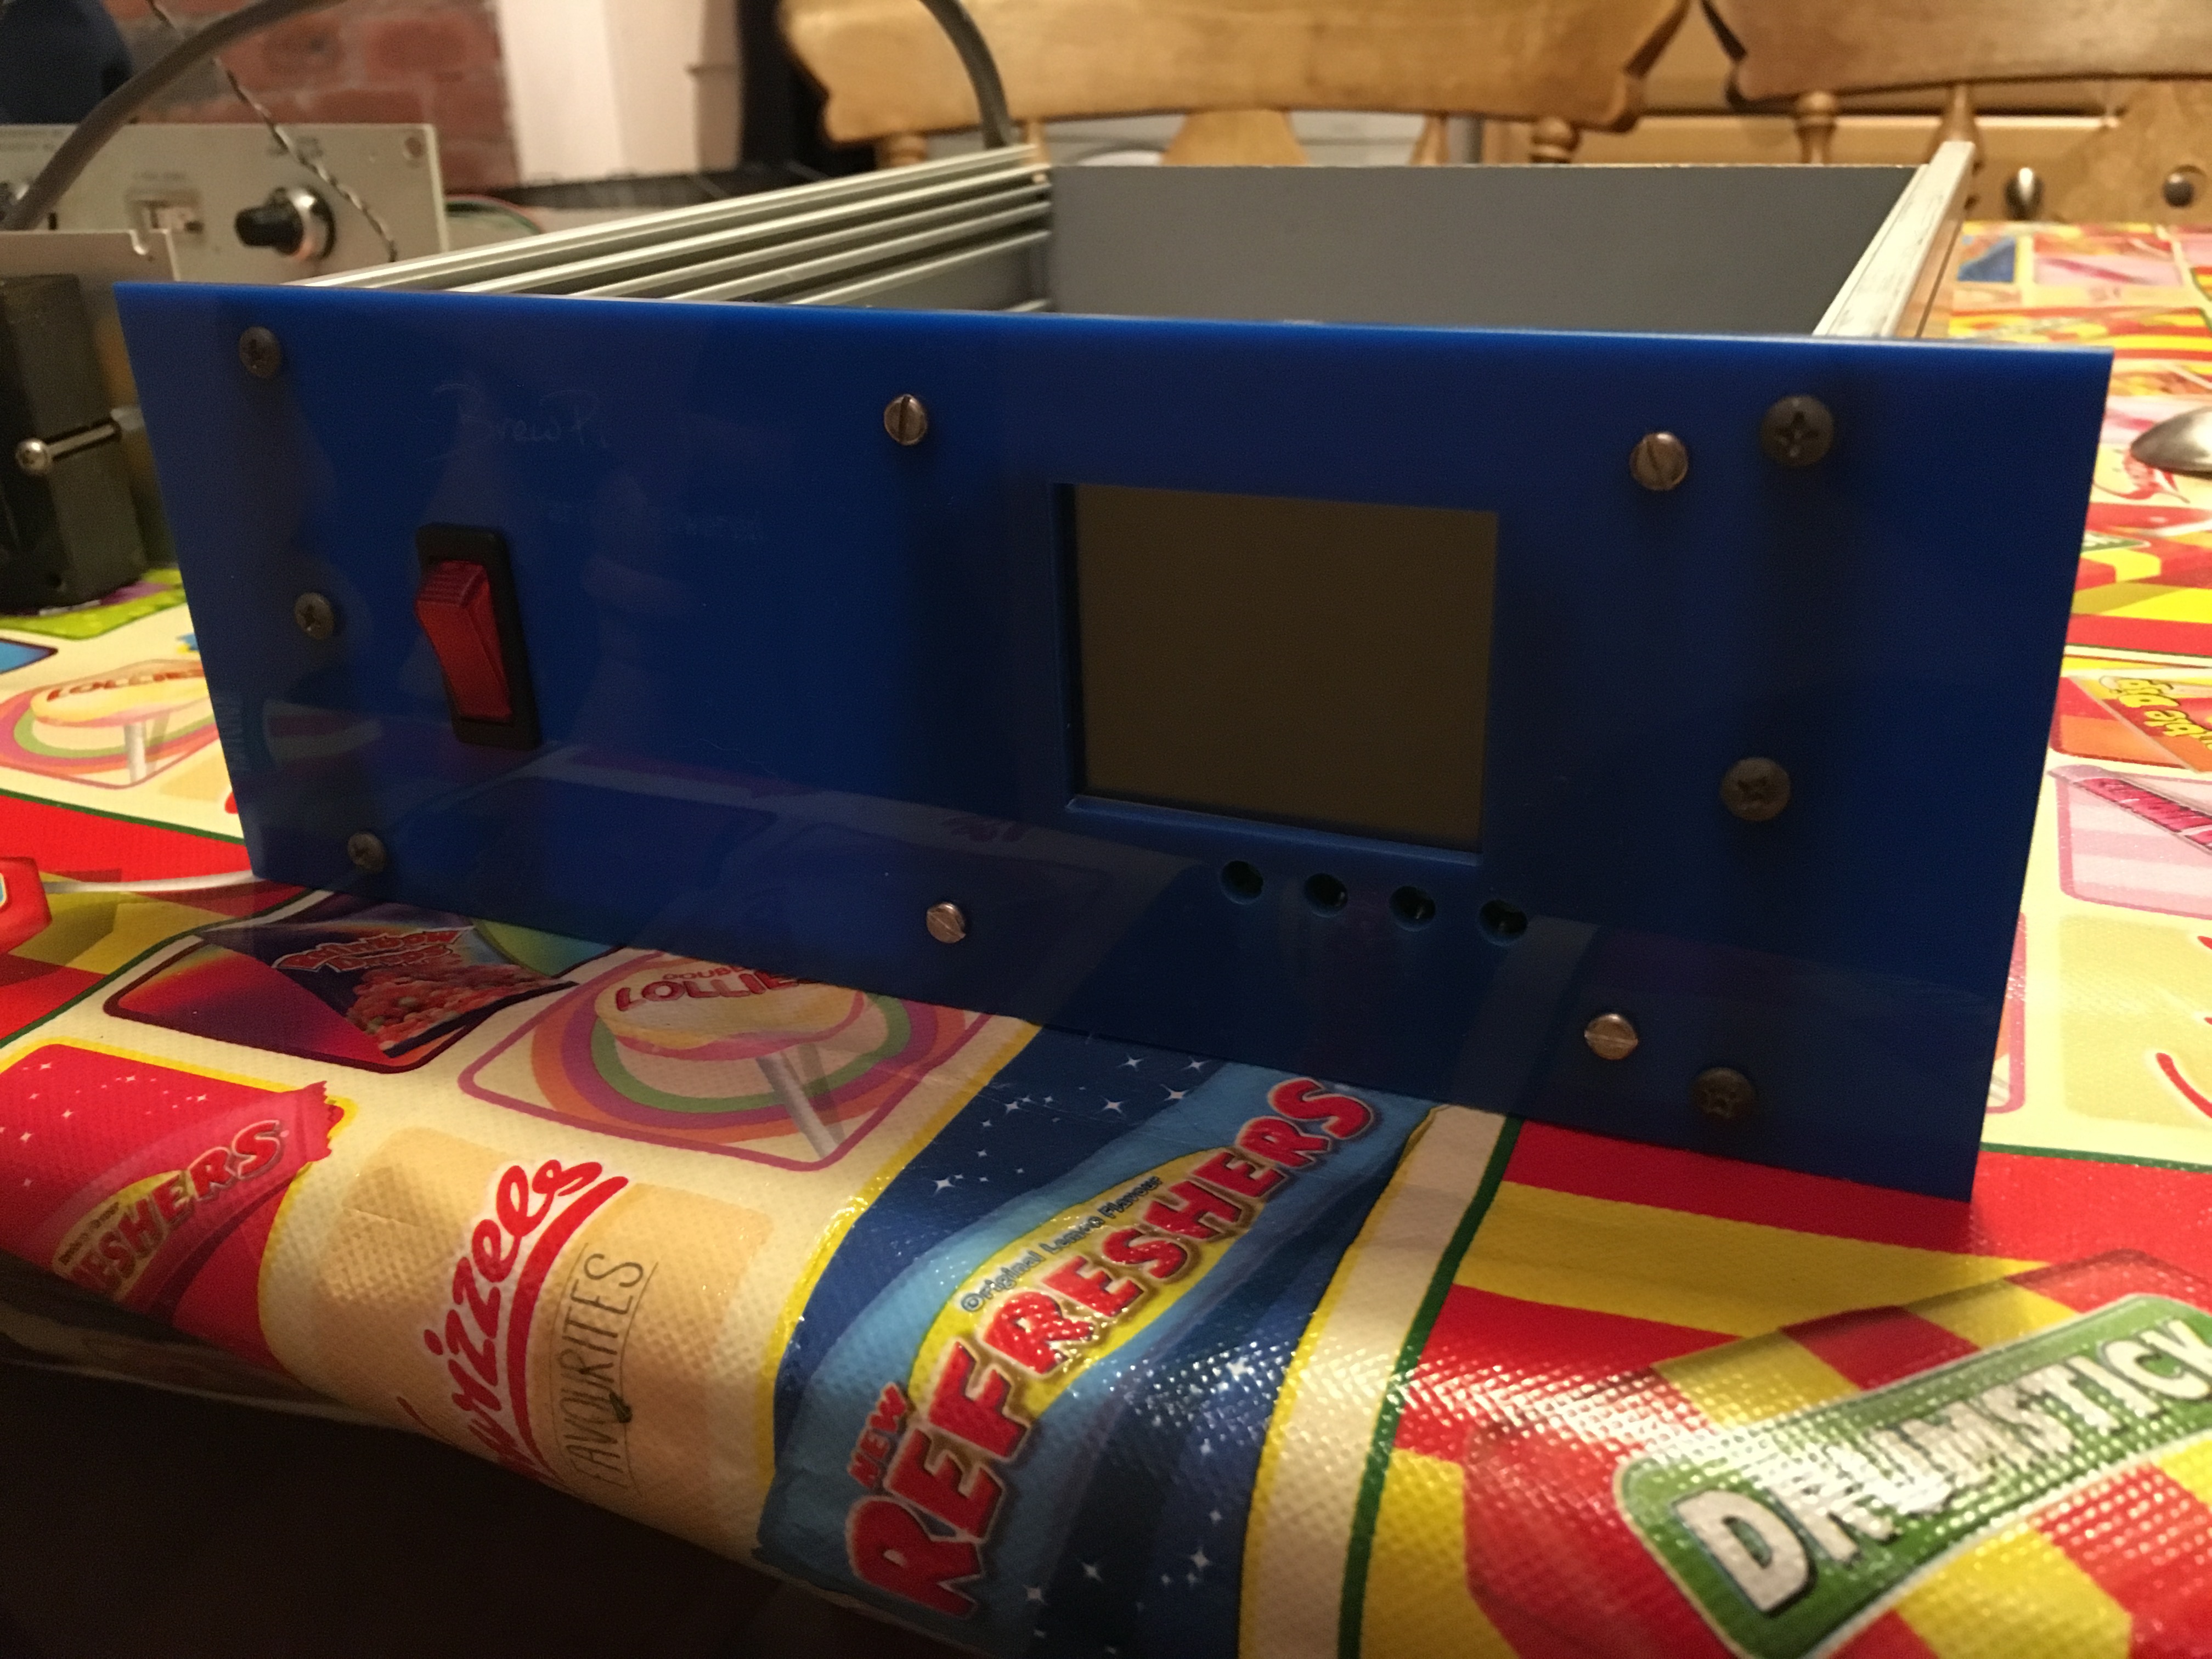
After feeling under the weather for what now seems like an eternity. Christamas eve and the day before, saw me put a bit of effort into my version of the Brewpi Spark.
Back panel
I decided to use IEC 10A rated sockets and mount the SSR’s on the side of the chassis
Internals
A bit fiddley to get a screwdriver in but with the PSU installed Last it’s do-able
Not Ideal but It Works
My Original Plan was to bring USB to the rear panel, but I couldn’t get a compact enough right angled Cable, in retrospect I have the Photon/Core too high on my board for my enclosure…, so holes in the Lid will suffice for the time being, two screws in the panel just coincide with the Pi case mounting slots to stop it sliding.
Last thing was to decide on the probe connection and inter connect. Since I already have 2 Arduino based BrewPi systems I wanted to be able to swap out the temperature probes so decided to stick with a DIN connector. They use a 3 Pin DIN so a 7 Pin DIN socket will take everything and still allow my existing Probes. I can see though that If I get any of Elco’s extra Expanders a DIN to RJ12 adapter will be necessary !
7 Pin DIN
It’s Alive
I had a slight moment updating from ver 0.2.11 to the latest 0.4.1, I got the White screen of death after running the Updater. So off came the Lid and a into DFU mode to run the right Tool using Terminal and all was well.
Next put it through its paces and test as a Herms Controller, possibly with a crib sheet to hand for all the new settings….
The Last batch of Holy Purple Cow wasn’t right and managed to pick up an infection, It didn’t taste the same as previous batches with a slight old orange chemical taste, This will probably put an end to my yeast harvesting and freezing project.
on the 30th of September I brewed a stronger version of my Black IPA weighing in at 8.5% slightly modifying the recipe to use Columbus as a mid Hop addition rather than the usual Chinook. Safeale US-05 was used to good effect. Very easy to drink but not a session Ale
On the 19th of October I did my first ever Party Gyle ! It was also the inaugural mash of the new 100qt Igloo. (95L)
Zod 100QtSparge arm working well
In retrospect I think that I OVERDID the split batch 12kg of pale malt and 500g each of Crystal, Caramalt and Torrified Wheat the first runnings formed the base for An imperial Pale ale, it came out with an OG of 1.092 and a F.G of 1.019 = 9.5% ABV a bit too strong I should have liquored it back a touch. Hops used were Columbus,Centennial and Citra in the Boil and Centennial for Dry Hopping. it’s currently conditioning…
1.092
For the second Runnings I added 72g of biscuit Malt, 250g of Chocolate Malt and 350g of Black malt and let it recirclulate for another hour. This batch was slightly larger and formed the basis for a Chocolate Vanilla Porter at an of OG 1.056 and an FG of 1.012 it weighs in at 5.6 -5.7% Hops used in the Boil were 35g of Home grown Brewers Gold and 18g of home grown Cascade. 100g of Cacao nibs soaked in Kraken Rum and 1/2 a vanilla pod were added in the secondary for 7 Days. I’m very pleased with the result.. I don’t think it will last long…
1.056 ish
The Brewpi Spark is underway albeit slowly….
I’m not too sure of the Blue front panel Colour and I am awaiting a 12v psu and IEC panel mount connectors. I plan on using this regulator for the particle / spark ..
and I am still very undecided on how to implement the connectors for the Temperature probes. Do I stick with the 5 pin DIN as per my previous build or use an Neutrik ethercon and use ethernet patch cables for interconnects or both or even try and implement Elco’s RJ12 interconnect….?
Today I have managed to squeeze in a Brew Day, A batch of Holy Purple Cow, Batch 3 , I just need to order some Citra hops to arrive just after we’ll be arriving home ready for the Dry hopping ! I will leave it fermenting in the hands of the Dependable Arduino Rev A BrewPi setup, whilst we jet off to France. Jake is around to deal with any emergencies with it if needs be.. I’m sure he can rinse out the Blow off bottle if it gets a little excited.
The experiment with the Frozen Yeast culture, well what can I say , I left it a little late, the WLP001 was just getting underway and the airlock had just started to pressurise as the Wort was ready, so As well as it, I put in the sachet of MangroveJacks West Coast dried yeast. next time I’ll start with an initial small starter about a week in advance and build it up. So it looks like it could be a feasible practice. Just don’t rush it.
Starter too late. should have started with it early in the week
I managed to get the CAD for the Front Panel for the replacement Particle Powered BrewPi into a near completed state, so it’ll be ready for cutting and etching when back at work after my holiday.
I have been getting to grips with LibreCAD to get a new front panel Laser cut from perspex . All I need to do now is get the BrewPi logo on there…
just neen logo and LED markings…
I have also been doing a bit more building of my own spark shields which behave like Version 2 of Elco’s shield.
I have noticed the bug that Elco has tracked down to the Wakeup pin config and also some sligtly odd behaviour at powerup which I think is to do with filtering as both the Beer and Fridge temperatures are filtered but the room is not.
Is this filtering in action showing Fridge and Beer temperatures initially high
After an agonising wait for another display to replace the non touch version that I mistakenly ordered, I paid over that odds for one from a local supplier but I have had another wait for a replacement display, as mentioned in my previous post the display wasn’t responding to touch…When the replacement arrived everything sprang into life almost as expected..
Since Elco’s announcement that they would soon stop supporting the Arduino version of the BrewPi, I have altered my plans from just building up a HERM’s controller to changing over one of the two existing fermenter BrewPi’s to the spark version. I have already purchased a Particle Photon as there have been hints about requirements for more code space for Wifi implementation for the photon but no WiFi for the core !
The BrewPi spark even though its under 1 year since release has seen Version 2 of the shield and is released with an extra control output making it very versatile by itself and even more versatile when you start adding the 1-wire SSR expanders.
As I am now building two Particle based Brewpi Sparks, I have been getting both my PCB’s to the same build state where component availability allows, last night I came across a bug with the core build of version 0.2.11 firmware. If I hadn’t already verified the hardware worked with a rudimentary test app built using the builder on Particles site I would have been worried. Pin A0 isn’t being implemented properly with the core build , the pin works as expected on the particle build running ver 0.2.11 (tested by swapping out to the same shield.)
Particle Core A0 set to ‘ON’ but not working as intendedParticle Photon in the same shield working as expected
Now let me find something on my mac to produce a DXF file that the Works Laser cutter can take to cut a replacement front panel….
and Finally.. my thanks to Elco and the BrewPi developers for a great project. Even though the arduino powered BrewPi will soon be archived it’ll still be used as a fermentation device on one of my fridges until the silicon wears out.. 🙂
thanks again for interesting times ahead with the HERMS setup that I know will be just around the corner…
Cheers
As well as dealing with my Blog being compromised and repairing the damage and securing it a bit more , This week I’ve been busy with my take on the Brewpi Spark !
I enjoy practical Electronics and that creative process. I have laid out a PCB using Cadsoft Eagle CAD and decided to get a couple of prototypes made rather than relying on the facilities at work !
3 for the price of 2
I expect that I’ll have to try and modify and compile the code to reflect some changes , I was hoping that the code would work straight off but it doesn’t quite, It’s getting stuck not responding to the Touch with a ‘touch the cross with a stylus’ message… at first I thought I’d got my wires crossed…literally , but then realised I’d bought a screen without the touch driver , Doh…I wondered why it was 50P cheaper.. luckily only £2.50 from China so I bought another from a UK Supplier but it’s still not playing ball….
the non touch version…there’s the touch plate and a chip missing DoH !!
I am still waiting on some connectors from Farnell but I have built it up and started testing.
Screen and LED testingBack of the board awaiting connectors
As mentioned in my previous post it has initially been laid out to be home produceable without PTH’s and using DIP devices where possible, it is intended to be built up into and old equipment box to replace one of my arduino Brewpi boxes which already has a stable 5v switch mode PSU and uses SSR’s so no diode on the outputs, although you could use one of the many Arduino relay boards as most have protection built in.. .. as far as it being in a metal box… a duck antenna and new photon are on the way and If I use my works Laser cutter to do a nice Black perspex front panel I may not even need the Duck.. quack quack …
Put it in here with a black perspex front ?
Lets have another try at learning C++ or at least being a bit more conversant with it…
The Beer Bellies Brewing Buddies BBQ went down very well the Brewdog samples were tasty if not a tad on the small side… We ended up sampling from champagne flutes and there was a timer running so that things didn’t spread into the wee hours. Very enjoyable and well worth the effort of hosting the event. Once again thanks to Tom for getting the sampling side of things sorted and the everlasting memory of Brommo’s face with all those sour beer samples at the end of the Evening.
I have also managed a Brewday …. Another batch of Wheat Beer… All went smoothly even my very Heath Robinson attempt at implementing a RIMs using a continuously boiling kettle, a feed from the mash tun into the kettle and a pump back to the mash tun . I’ll find out the quality of the brew shortly…
Talking of Heath Robinson.. After the 4 c’s slow cooker event, I vowed to get the 100qt igloo cooler setup as a mash tun . So a search on Amazons storefront resulted in various Stainless Steel fittings being purchased and delivered from China. Last weekend I had a concerted effort at fitting the tap and getting the filter built and installed. I had several attempts at getting it leak proof. The side wall of the tun were being crushed as I tightened up the Tap nuts, so i decided to cut a short length of poly pipe the length ot the gap betweens the walls and cut it length-wise so it would curl slightly to get it in through the hole and then expand again to stop the walls being crushed, it worked a charm… no more leaks ….
New larger tunNew Tap assembly
I’ve spent an hour flushing it but it still needs a hot wash and thorough clean….
I’ve also been laying out my take on the BrewPi Spark… Although the spark is Now called Particle…
My Particle Brewpi Eagle CAD
My idea was to have a board that anybody could build up from scratch using mainly discrete components with similar connectors to the original, if needs be built on double sided board without PTH vias . Its was done with a view to replacing the arduino in one of my existing boxes. I may have to change the layout though as I now realise that I should have had a no go zone under the particles antenna, I’ll get it built and see what happens… I can always mod the board and I have enjoyed laying it out …
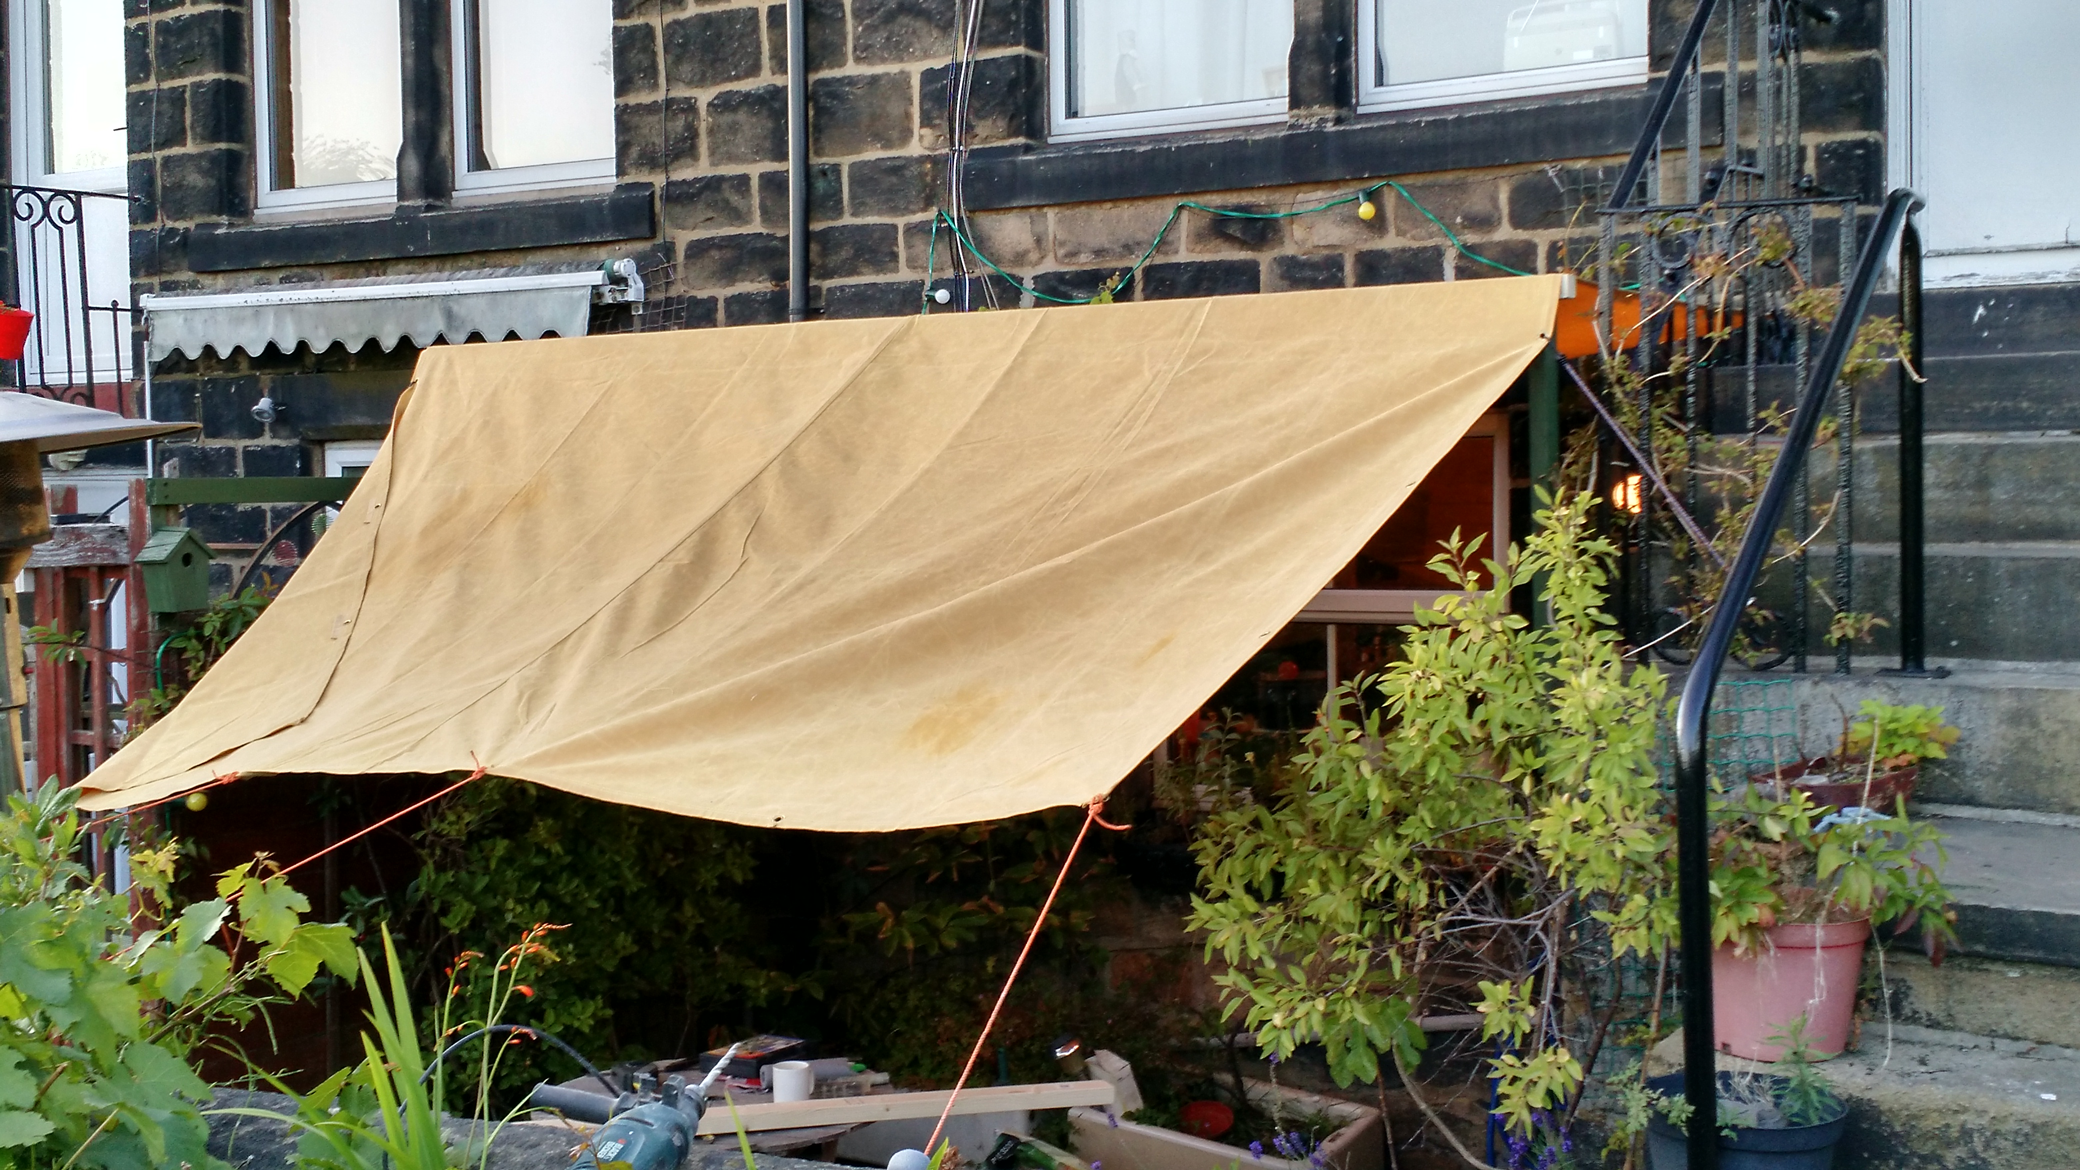
Over the weekend will see the second gathering of the Home Brew buddies , I am not sure what to call our loose gathering as we have yet to decide on a name… The format this time is a BBQ. It’s a Bring the stuff you want to eat/cook and drink, although I will put on some Potato Salad and Coleslaw and bread, just in case…. I will have the BBQ and coals at the ready.
Leaky shelterBit more cosy under here !
We will also be sampling some of Brewdog’s fine wares (everyone who wants to sample has chipped in a £10) so a thanks goes out to Tom for organising that….